I decided 2009 was the year for me to have an inspiration board. Ive seen them all over the place, I love them and Ive wanted one of my own for a long time now. Im a fairly crafty person, so I thought Id just throw some materials together and see what I came up with. Im really pleased with the result.
Piece of fiberboard
Heavy-duty home decorating fabric
Ribbon
Quilt Batting
Staple Gun + staples
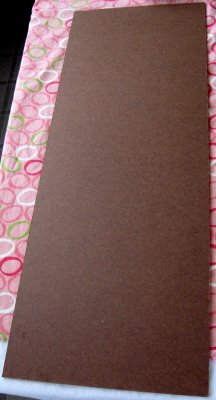
First I bought a piece of fiberboard from Home Depot for around $3.50 and had it cut to the size specifications I needed, {I measured the wall next to my desk beforehand so I knew exactly how much space I had to work with}. I believe the board was 4 x 6 so I have plenty leftover to do a board for my daughters room.
Next I went to my local fabric store and selected some beautiful fabric. Ive seen Inspiration Boards with plain backgrounds, but I wanted mine a little sussied up so I went with a really pretty home décor fabric in a color that I love {green}. I think I got maybe ½ yard, and it was on sale so it cost me about $4. I bought some ribbon in the same fabric store so I could see how the colors looked together {great, if I may say so} and I was off.
I think the ribbon was around $2. I also picked up some batting meant for a Christmas tree skirt; {it was on clearance for something like .20 cents} but any quilt batting will do. So all in all I was out less than $10 for the whole project. And its custom made so I love it. Easy peasy.
1. Lay the fiberboard on a flat surface. Youre going to be doing some fabric stretching and stapling so you want it to be a sturdy flat surface.

2. Wrap a layer of batting around the board. Stretch it really tight across the board and start stapling away!
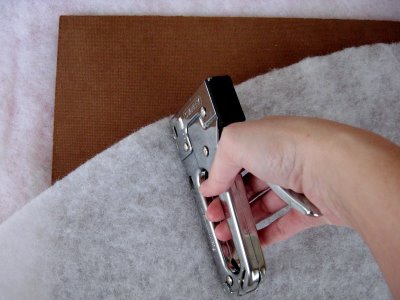
3. I wrapped two layers of batting around the board because I wanted mine to have a little dimension but you can do anything youd like. Its your inspiration board after all.
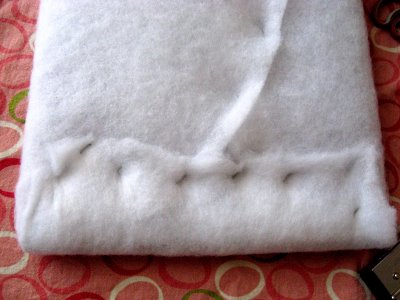
4. Now that the board is fully batting-ed, lay it down in the center of the fabric. Play with the positioning a little, to make sure you have enough fabric to go all the way around the board.

5. Pull the fabric around the back of the board until its really taut and start stapling. I stapled all over the back about every half-inch or so because I wanted the fabric to really stay put.
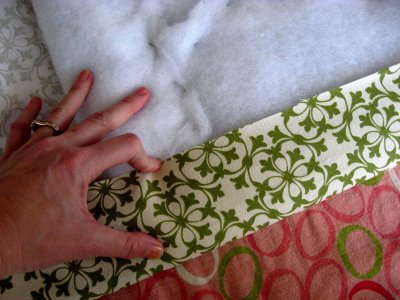
6. Now that youve got the fabric on, pull out your pretty ribbon. This is where the creative license really comes in. Youre going to want experiment a little with laying the ribbon across the board before you do any cutting. Just to see what kind of pattern you want. You can do a grid of squares, or do slanted rectangles like I did. It doesnt really matter, just as long as you have intersections where the ribbon meets so you can tuck in all your photos & inspirations.
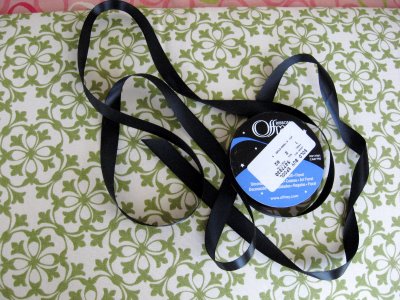
7. Once you have your ribbon laid out the way you want, cut it into pieces to be stapled. Make sure the pieces of ribbon are long enough to go around the back of the board at least a few inches. If you want, you can dab hot glue where the ribbon meets the back of the board before you staple. Id still use a staple though because the ribbon needs to be able to hold up all your
little mementos and you dont want it falling down on the job. Pull it really taut before stapling.
{Also, depending how youre going to be hanging your board, you might want to save a length of ribbon to use as your hanger.} Make your pattern of ribbon and voila! Youre done. Unless of course youre going to hang your board with a piece of ribbon. In which case you need to create a hanger out of ribbon. Just attach it the same way you did with the other ribbon, with glue and staples.
Now hang it on the wall somewhere you can see it every day, and tuck in your happy little mementos. Enjoy!




So cute, so clever.
LOVE IT! I'm gong to make one at Christmas.
This might be something even I can do! Thanks for the idea!
Jen,
Thanks. Add easy peasy to the list as well.
Cinnamon Sticks,
Now that would be cute! A place to put all your Christmas cards?
Emily,
Of course you can. Easy.
Krista,
Isn't it awesome? I measured mine to fit on a specific section of wall next to my desk, but a big one would be so great.
I did this several years ago, when we first moved into our house. I stick cute art projects by the kids, photos, fun cards I receive in the mail. Mine is super big, so lots of space to tuck things. It's always the first thing people go and check out because there's so much fun stuff to look at!
Love this! Thanks for the "how to"! Makes it totally doable!
Erin,
Oh I wish I did! I got it at Joann's Fabric forever ago. It was definitely in the home decor fabrics, I can tell you that much.
Hey friend…I have that fabric as curtains in my kitchen! No wonder we are friends!
I just got it a few months ago at Joann's…they must still have it!
i LOVE that green. do you remember the name or the brand of the fabric?
darn it. charlotte doesn't have a joann's. so lame!