It’s that time of year again….Spring! Which, to me at least, means gardening. We try to have a garden every year, just to give the kids Summer jobs. The produce is an added bonus, but I really want the kids to learn how to weed, water, and harvest. My kids actually get really invested in the garden, getting out to water and weed in the morning before it gets too hot, and I find them snacking on snap peas while they’re out playing. They love every aspect of it, I love that they love it, and we all love each other. I’m going to share a tutorial with you of what I wish I’d known 5 years ago in gardening. I’m far from hardcore, but I’ve had a few gardens and this is a pretty basic step-by-step account of how to get started in planting your vegetable garden. Ready? Let’s go.
Step 1: Egg Cartons
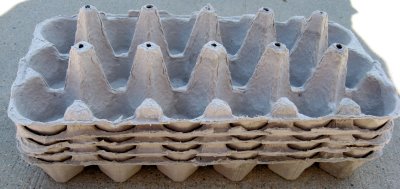
I start saving egg cartons in about January. Yes, really. They make the perfect little sized containers to transplant your plants once the ground is warm enough outside. Egg cartons are biodegradable, free {well, you know what I mean}, and you’re recycling. Win–win–win.
Step 2: Seeds

I don’t buy my seeds from catalogs, I just pick them up at the local grocery store, for 50% off their listed price {read: I rarely pay more than $1 per seed packet}. Get ’em wherever you like, and whatever variety of vegetables you’ll enjoy. I try to branch out a little more each year. Here’s what’s on the menu this season: Carrots, Beets, Peas, Spinach, Cucumber, & Onions.
I plan to add Tomatoes later but I don’t start those from seeds, I splurge on the full grown plants. It’s happier for everyone if I do it that way.
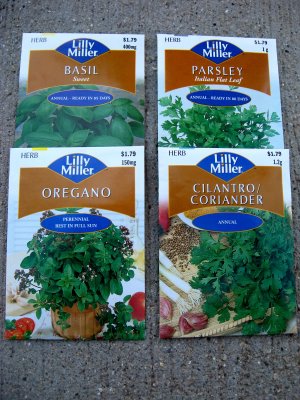
This year I’m doing an herb garden and I can’t WAIT. Basil, Oregano, Parsley, and Cilantro. I think I might add Spearmint into the mix at some point. What do you think?
Step 3: Planting Soil
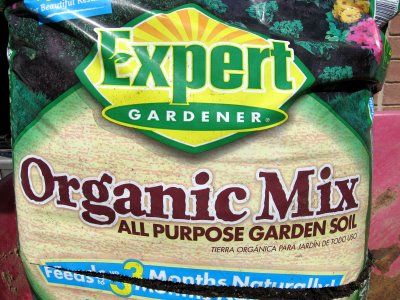
I wish I could say the soil in my garden was lovely enough to use all on its own, but it’s just not. I have to fake it and buy the good stuff at the store every year. And this year, Viktor went all out and bought the soil with a little, ahem, Miracle Grow built into the mix. It might help the plants *a little*. It’s basically steroids for plants. Don’t worry, there’s no blood testing, so I won’t get in trouble with any gardening agencies.
I put this bag into our trusty red wheelbarrow before breaking it open {I always wanted my very own red wheelbarrow. Isn’t it quintessentially suburban?}. I would have just used my fingers to rip the plastic, but Viktor’s a little more industrious that way. He slit it open with a razor blade before we emptied it into the wheelbarrow. Men. Always with the tools.
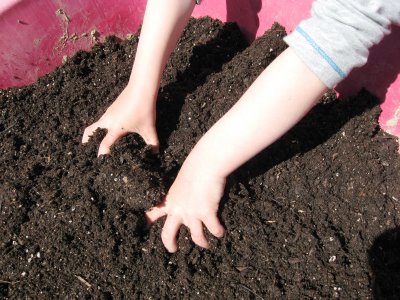
This is the best part for the kids: getting dirty. This is C smooshing and mixing, and smashing the soil around. He loves getting really messy, my laundry room being exhibit ‘A’.
Step 4: Fill the egg cartons
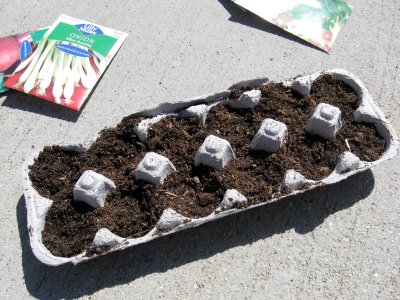
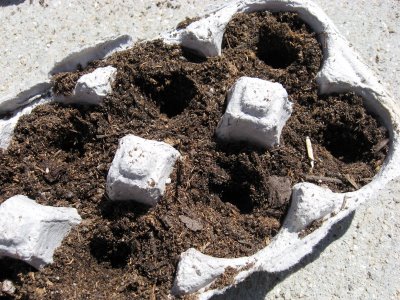
I literally got a little blue shovel out of the sandbox and had the kids fill all the egg cartons to the top with soil. It’s good and messy but we did it outside, so who cares?
Step 5: Poke little seed holes
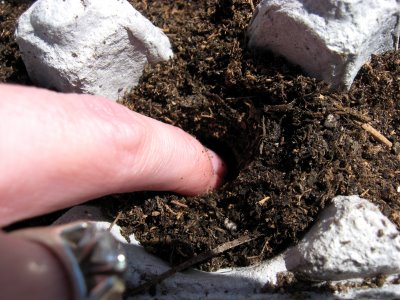
That’s the technical name for it “poke little seed holes”. I just used my pinkie to poke a hole down as far as I could into the dirt. Do this for each hole in the carton.
Pour the seeds into your hand so you can see what you’re working with. These were super tiny. Basil, I think.
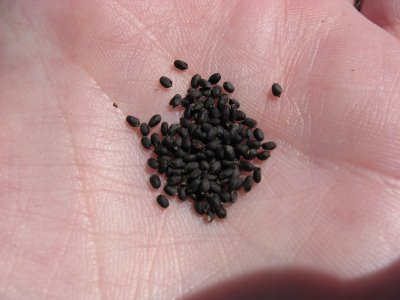
I’m not very technical about it, I just grab a pinch of seeds and fill each hole. Maybe 5-6 seeds each.
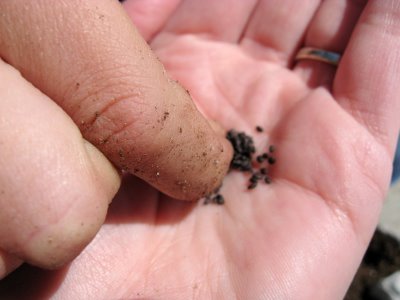
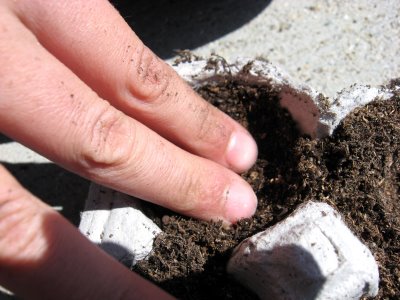
After you drop the seeds in, fill the hole back up with soil and tamp it down with your fingers like so. I like for it to be a little bit packed because some of the soil will wash away every time I water.
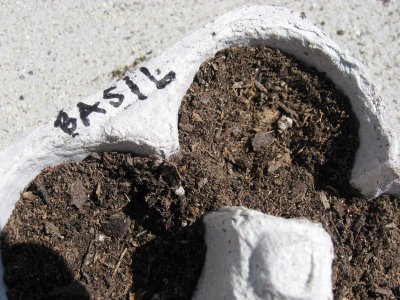
Here’s the Basil. I write on the egg cartons with permanent marker so I can identify each of them. The best way to do it, which maybe I’ll do if I get around to it, is to take Popsicle sticks and label them with permanent marker. Then paint over them with clear nail polish so the labels won’t get washed away every time you water.
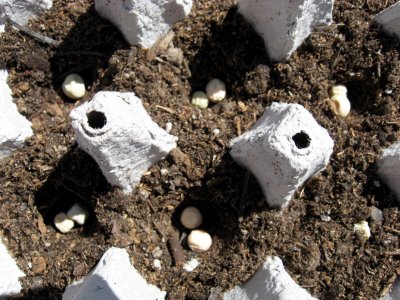
These are the peas. Pole peas, to be exact.
Step 6: Just add water.
Fill a pitcher of water and add it, bit by bit, to your plants. You don’t want to flood them out, but make sure they’re totally saturated with water. Little tip? Don’t water the plants until they’re at the final resting place. ‘What do you mean?’ you ask? Well, get them all planted and move them to their temporary locale before you add water. If you move them after you’ve watered them, the egg carton will fall apart on you and the dirt and seeds will leak all over your driveway. I’m just saying. It *might* have happened to me in the past.

Now make sure you’ve labeled them all so you know what you’re dealing with. You don’t want to mix up your Onions and your Basil, I mean puh-leaze.
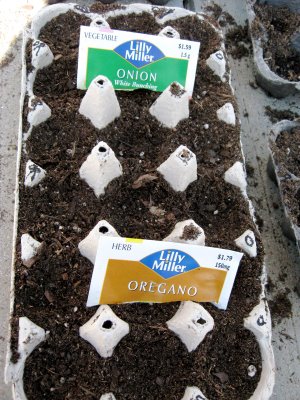
This is what they look like all lined up in a row.

Kind of fun, huh? Now I’ll take them inside until the weather is a little warmer {read: May}. They won’t be ready to go into the ground for about another 6 weeks. The rule of thumb is after Mother’s Day. At least in Utah. Any time before that and I guarantee it will snow on my plants and totally negate all the work I’ve done. It totally depends where you live, so check the back of the seed packets to find out when it’s okay to put them in the ground.
I incubate inside, on the kitchen windowsills, until it’s guaranteed not to snow, or frost. I’ll walk you through that once we get there. But for now, just keep your little seedlings inside and keep them warm and moist until further notice. Got that?
>
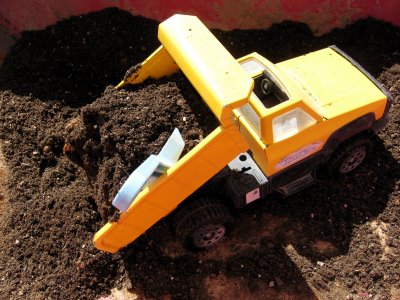
The leftover dirt is perfect for dump trucks. Endless entertainment for a 4-year-old boy.




Hooray for gardens. We tried to start last year for the first time, but it was still snowing in June. This is the year for square foot gardening: herbs for sure, corn, tomatoes (also from full size plants), peas, carrots. And flowers for cutting–maybe sunflowers, iris. Wish us luck. I’ll be coming to you for tips!
Thank you for this! I have absolutely NO idea how to garden, but I have huge dreams of having a beautiful garden. I think I can do it this year!
We just did our “planting” last night! The kids loved it! We bought the sweet little $6.00 green house (72 spaces, pre-filled with dirt that expands) at wallie-mart and it worked great. The kids are excited to watch them grow. My 5 year old woke up this morning and wanted to go find our plants. He’ll need to wait a bit for them to start growing! Here’s hoping that our plant all grow!
Oh, I love your little tutorial! I wish I had land to do a nice garden. My girls love visiting my parents because they have a huge one and they get to get all dirty and help out, tee hee. I’ve got an awesome herb pot that I keep Basil, Oregano and Cilantro (my fav) in and my daughter tried to grow strawberries and carrots in pots last year. We got a few strawberries out of it before the dog ate the rest :-( and the carrots never grew.
Jamie :-)
Love the yellow dump trunk :)
Your Japanese Garden
Watch out for any kind of mint…they can be very invasive in your garden. Sometimes I plant mint in a big barrel with some flowers…love the look of flowers and herbs growing together.
Love it Allison! I bought a seed starter but I’m saving my egg cartons next year for sure. Good idea! I’m looking out at snow (boo) now but can’t wait to get the garden going. Thanks!
We are gardening this year for the first time. Thanks for the great tutorial!