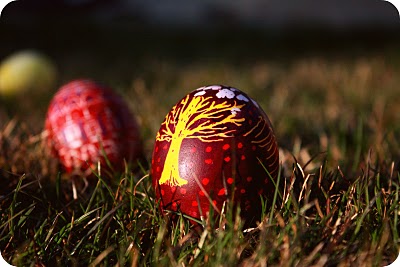
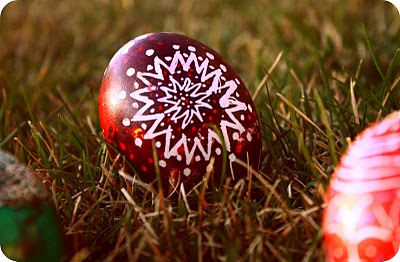
I’ve wanted to make Ukrainian Easter Eggs with my children for years. I made them in a fine arts class in high school and completely fell in love, and have been dying {no pun intended} to do them again.
The trick is finding the right tools; Ukrainian eggs need special tools, and I was only able to find them online. I bought mine from the Polish Art Center {of course} but there were a few other retailers to choose from. You need at least one kistka, beeswax, and dyes. I wanted really strong, traditional dyes so I bought a package of 16 colors online instead of using a grocery store dye kit.
Ready?
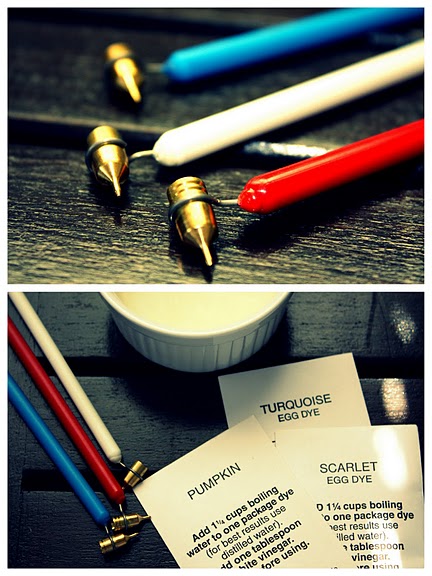
Supplies for making Ukranian Easter Eggs: Kistka, beeswax, dyes 
Step 1:
Lay down two or three layers of newspaper on your work surface, this dye is really strong and you don’t want it on your counter or kitchen table.
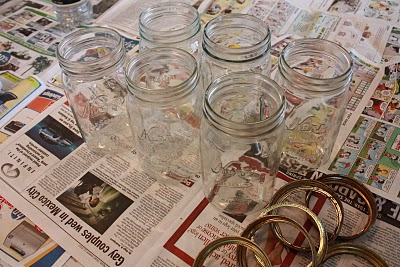
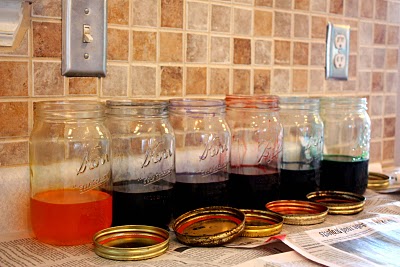
I used mason jars for my dye baths, they’re perfect. Get out your jars and mix up your colors. Let them cool to room temperature before you start dyeing or the eggs will crack.
While you’re waiting for the dye baths to cool, pull your eggs out of the refrigerator and let them warm up. The wax and dyes won’t adhere to them as well unless they’re a little on the warmer side.
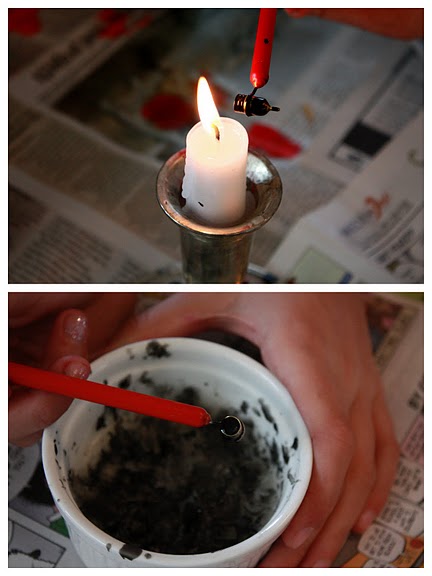
Warm up the kistka over a hot candle {use a small stub of a candle} and scoop up some wax. Now melt that wax over the candle again until it’s completely liquefied.
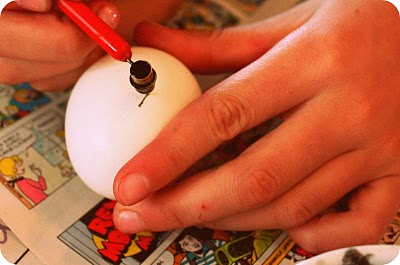
Start decorating! This is the best part. Think of the wax as negative space, everything you cover with wax will stay that color. So, if you color a white egg with swirls of wax, those swirls will stay white in the end. Each additional color you use will stay that color if you apply wax. Make sense?
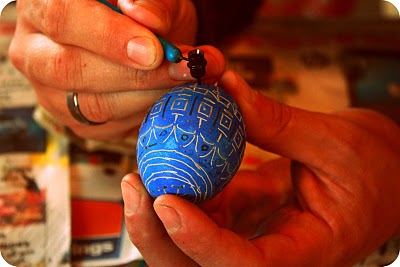
Repeat Step 4. Keep decorating with wax and dipping into different colors. Start with the lightest color first and move to the darkest. If you have a yellow start with that, move onto red, then green, blue, and finally black. Each new dye will cover up the last, except the parts you’ve waxed. See Viktor’s egg? He’s already waxed white, then dyed it blue and he’s onto the next layer of wax.
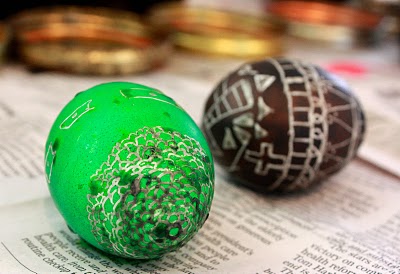
Melt the wax. See all that ugly wax on the green one? It’s about to be melted off.
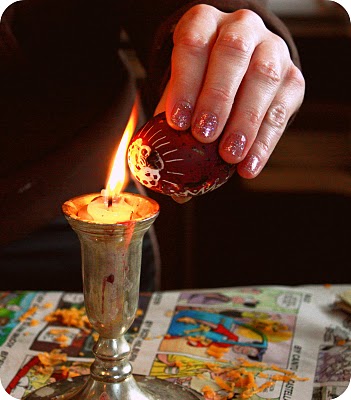
Like so. Gently melt the wax off the egg and wipe with a paper towel until you have no wax left on your egg at all. This is my favorite part. No, that’s not true. Waxing the egg is so awesome, it’s like this total Zen meditation that takes complete concentration and tuning out of children. But melting the wax off to see what’s underneath is very cool, it’s great to see the fruit of your labor.

Aren’t they awesome? Actually, that red one in the background belongs to Viktor and I think it’s amazing. Our brains work so differently it’s enlightening to see the artistic interpretation of that. Mine is all hearts and love and squiggly lines and Viktor’s is all straight lines and architecture.
Interesting.
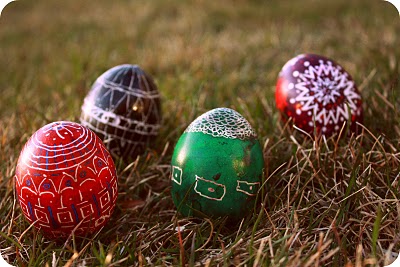
My kids loved this so much I think we’re going to have to make it a tradition every year. What do you do to decorate? Anything unusual?
Let me know if you end up doing some Ukrainian Easter Eggs, I’d love to see pictures.
Have a great weekend!




Gorgeous! Thank you for sharing this tutorial.
Those are fabulous! I love the egg with the tree on it- the colors are beautiful.
Definitely something I will have to try next year! Thanks for the great idea!
My great-grandmother was Ukrainian and we decorated eggs like this as kids. I loved it. Thanks for the great tutorial and reviving some wonderful memories!
I love this! I tried it for the first time this year. My grandma had done them years ago and I had said for years that I was going to try.
I am impressed with the eggs your guy made. While I loved making them, I don't think my husband would like it.
http://rootsandwingsco.blogspot.com/2010/03/pysanky-or-grown-up-easter-egg.html
Anjeanette
I did this one year with my grandma once. It was so tricky, but SO MUCH FUN! Way more fun than the American way of dying eggs.
Happy Easter, Allison!
What a fantastic idea. Those eggs are amazing. Maybe next year I'll take this on. Happy Easter
Wow, they look really gorgeous! Nice job.
WOW that is totally awesome!! Thank you
BEAUTIFUL!…Great tutorial
This makes me wish I was home making eggs with my sister in laws. They love doing the ukrainian eggs, and they always look so fantastic! My best egg was a leopard print one… but at least I tried! You're look great, what a fun activity with your kids.
Those are beautiful eggs.
Wow, what an interesting technique! Thanks for sharing.
We were lucky to just get the eggs dyed this year. Vinegar + H20 + food dye. Nothing fancy.
Wow. Very impressive. Were they worth the effort?
Oh my word! Those are STUNNING!
Great job, honey!